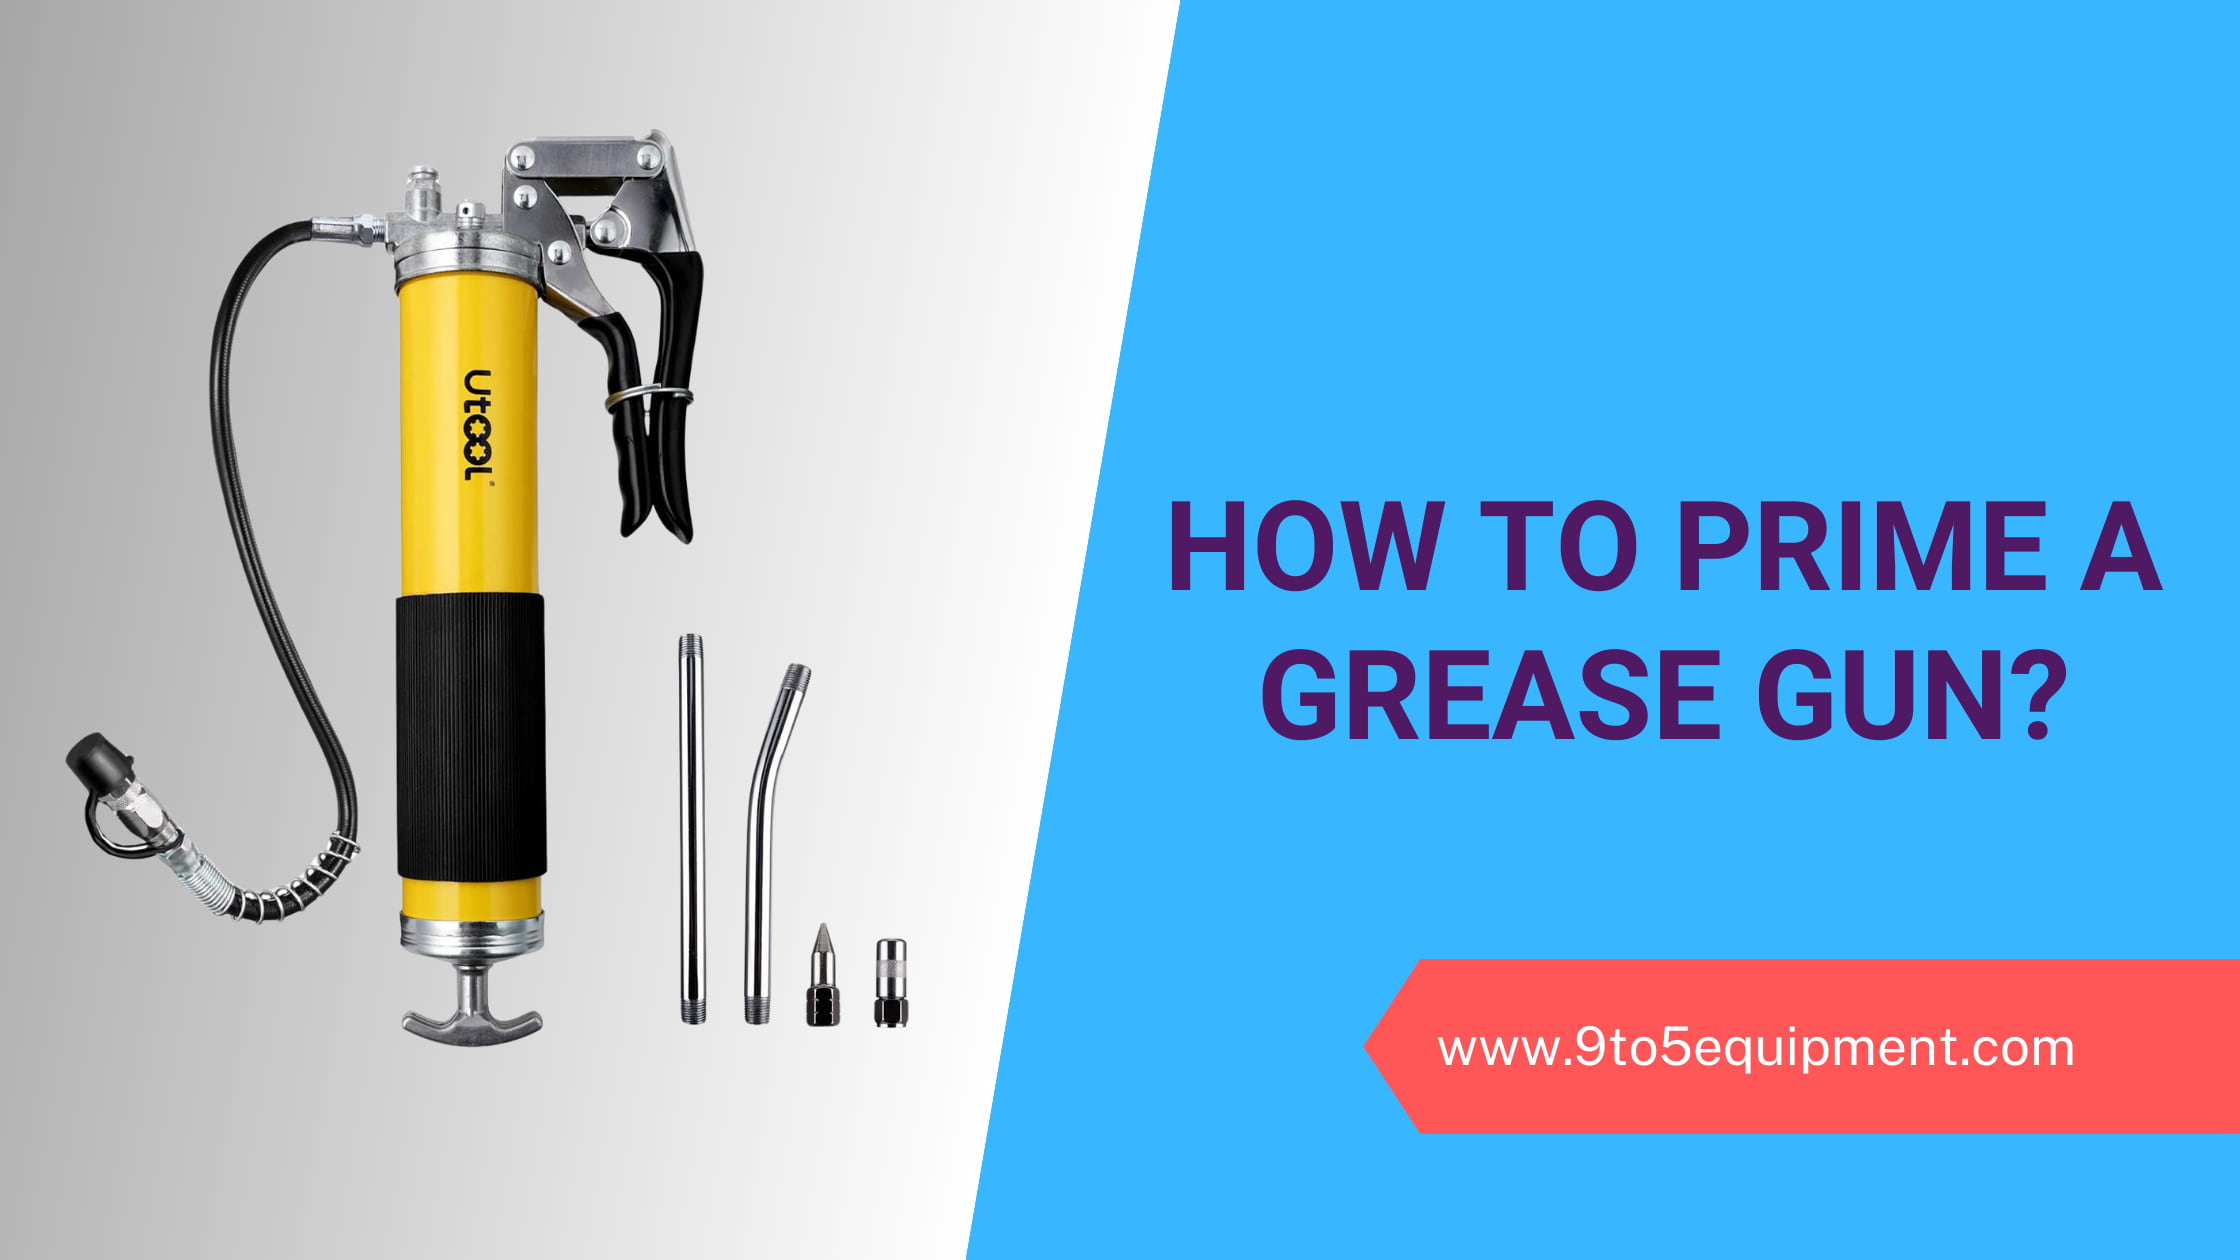
In this guide today we will be showing you How to Prime a Grease Gun. The most common mistake people make while using a grease gun is not priming it.
If you have a mechanical workshop or anything similar, then you might already know the importance of grease guns. The grease guns make it easy to lubricate machines and thus use them with ease. But did you know that taking care of your grease guns by priming them is also very important?
In this article, we will be sharing with you all the method to prime grease guns and also some helpful tips that will let you keep your grease gun in good working condition for long! So what are you still waiting for? Keep reading further.
How to Prime a Grease Gun Manually with 6 easy steps?
If you have used a grease gun before, you might have noticed that an intact grease gun will not contain any grease in the hose. This is because there is air there. Hence, it is necessary that you prime a grease gun to get rid of the air.
Using the below step-by-step mentioned guide, you all can prime grease gun of any type – be it a power or pneumatic luber electronic grease gun or pistol or lever grip, or manual gun. Go ahead and make sure to follow the steps just as mentioned and in the exact sequence.
Step 1: Tug the T-Handle and Strip out
To start with, you are required to tug the T-handle and take it out of the grease gun. For this, you can press down a little on the handle and lock it into the exposed area. You will come across a mini groove in which the handle suits to grip it open when you fill the gun with grease.
Step 2: Vacant the Grease Cartridge
Now comes the part where you have to tug the vacant grease cartridge out of the metal cylinder by unscrewing. The gun is screwed close to the nozzle by the cylinder.
Step 3: Insert the Cartridge into the tube
Next, tug the metal tab out from one end of the grease tube. From the other end, take the plastic cap off. Your cartridges are now all set to enter the tube of the grease gun.
Just make sure that before inserting the cartridge, you have checked for any dents or leakage issues, although this is very rare. But if your cartridge is found to have some issue, then do not use such lubricant as it may further cause issues in the grease gun.
Now, after checking your cartridge for any possible issue, you can move it inside the grease tube in the metal cylinder such that the metal tab of the cartridge is facing towards the bottom of the dispensing nozzle. Now put the cylinder in its place by simply screwing it inside the grease gun.
Step 4: Force in the T-Handle and Rod
In this step, you are required to free the T-Handle and the rod and then force it by pulling and pushing in the new grease tube about 3 to 4 times. This will allow the air to pump out of the tube. Thus, letting the free flow of the grease. You can always apply more pressure to the grease in order to force the air out of the vent.
Step 5: Press the handle Multiple times
Now you will have to press the handle of the grease gun a few times so that the grease will start coming out of the gun. It will take a little while for the grease to start coming out properly till then just be patient and keep pressing the handle.
Also, at this point see that you are using a dust cloth or a wastebasket so the grease does not fall on the workspace or the floor. You will soon realize that the grease is coming out well.
Step 6: Unscrew the Bleed Screw
At the tip of your grease gun, there will be a bleed Screw which you will have to unscrew. In order to expose the grease gun flow, you can pump the hand 3 to 4 times. Once the grease dispenses in enough quantities, you can then tighten the screw well.
Note that you should not do perform this step until the grease in the tube is weighty and cool. Next, you will have to put the T-Handle and rod back in place by simply pulling them. In case the grease gun wastes its prime when you are applying grease, then pull and push it multiple times.
Once you have set the rod in its position and out of the way of the grease, your grease gun is absolutely ready to be used. Just note a few things here before you go on to use the gun, in case the lubricant is very thick or tacky, then using a grease gun can take a little longer.
And if it is cold where you are working then this can become all the more difficult. Also, some lubricants flow slower than the others due to their formula and composition. This can all affect the loss of prime. If you are in any such situation, then we would recommend you to cycle the grease gun slowly by allowing the full strokes of the handle for manual units.
Note – In case you are using a set electronic pyro luber or a pneumatic gun, you can reduce the air pressure by a low setting and give some more time for the grease to enter the chamber. If need be so, then you can pre-pack the gun head thus leaving very little air pocket. Then you can follow the end steps of priming so as to re-prime the gun.
Tips for better Grease Gun Loading and Priming
After having used a grease gun for the umpteenth time and also screwing up a few times, here are some useful tips you can get to prime grease gun and load grease gun easily and efficiently.
- Pick up the best Lubricant! Do not think that you can use just any lubricant out there as you have a grease gun now. Make sure that you are using the right type of lubricant so as to make its application easier.
- Clean the Gun well. Ensure that you are cleaning the gun well also the fitting and nozzle of the gun before you pump the grease. You can use some of the lubricants for cleaning it using a clean cloth.
- Do not use multiple lubricants. This is one of the common mistakes people make while using a grease gun. Although you might want to have a whole collection of lubricants to yourself, it is recommended that you use just one lubricant every time. If you run out of your lubricant, buy another tube of the same one.
- Decompress Grease Gun once done. After you are done using the grease gun for your project, it is important that you decompress it. We would recommend you store it in a cool dry spot and in an upright position such that the grease does not pull apart.
Read More: 6 Steps How To Use A Nail Gun [Guide]
Bottom Line
I am sure by now you know it is very easy to prime grease guns and load them. In concluding this article, we would like to share the most important tip with you all with regards to a grease gun.
Make sure that your grease gun does not have any air inside the barrel before you put the grease inside. Priming is the most important thing to do when it comes to grease guns and this stands very true especially for the new grease guns. Hope the article helped you in the same!
Happy Gun Loading 😉


